Step 3: draw the walls
- Open the floor plan of Level 0.
- Pick the Wall tool in the tool row (the brick icon), or Create › Wall.
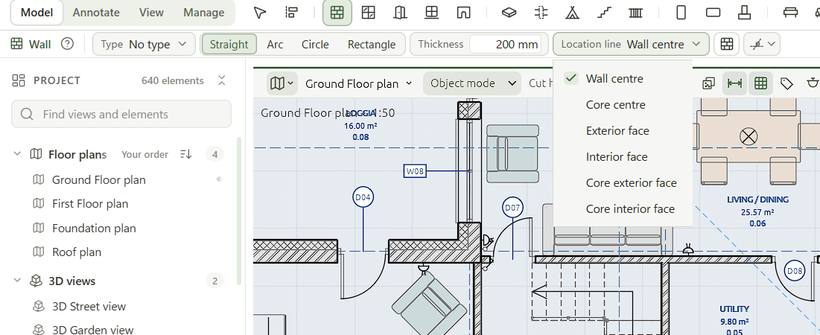
- Look at the bar under the tools. It shows the wall's Thickness, its Location line and which side is outside. Type a thickness such as 300.
- Click in the plan where the first corner goes. Move the pointer and click again: that is one wall. Keep clicking to draw the next walls of the chain.
- To close the outline, click on the first corner again. Press Esc or right-click to stop.
Drawing exactly
- Hold Shift to keep the wall straight along an axis.
- To set exact ends afterwards, select the wall and type its Start and End in Properties.
- Lean on guide lines: hold the pointer still on a corner for a moment (or press Q) and dashed lines run from it, level, plumb and at 45°. See Guides.
- The pointer snaps to corners, midpoints and other walls. A small marker and label (such as Endpoint) show what it caught. See Snaps.
- Walls that meet join cleanly by themselves: corners are mitred and a wall that ends on another makes a clean T.
Made a mistake? Ctrl+Z takes it back. To change a wall later, pick the Select tool (the arrow), click the wall and edit it in the Properties panel on the right, or drag its square grips.
More: Walls.
Next: Add doors and windows